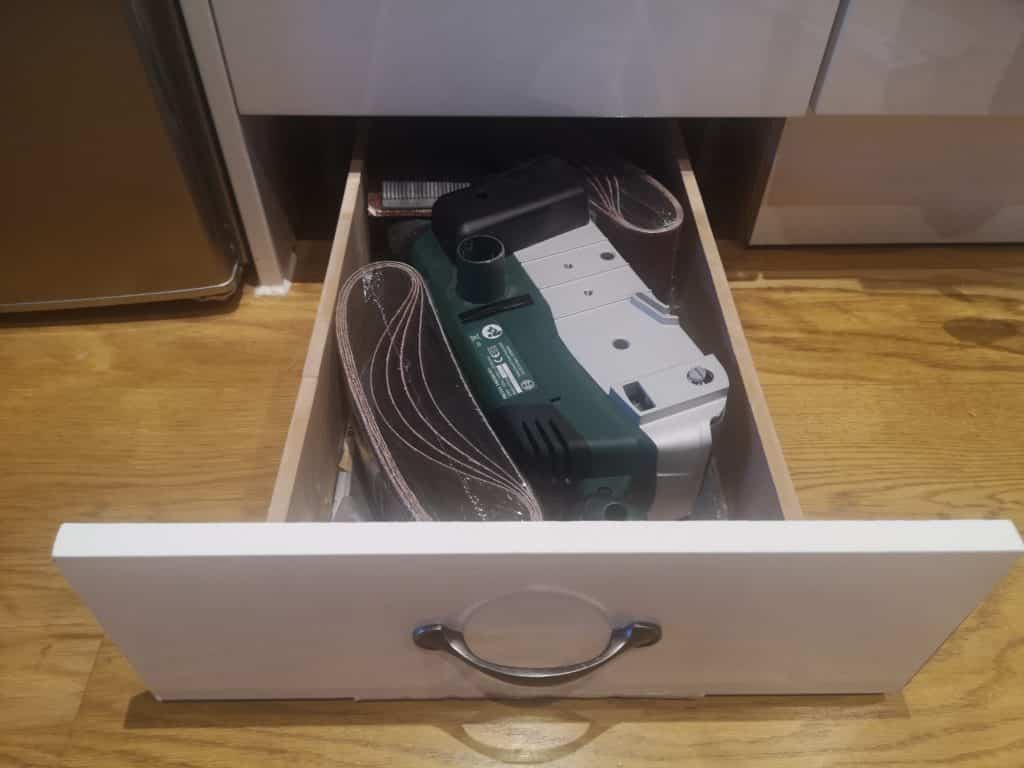
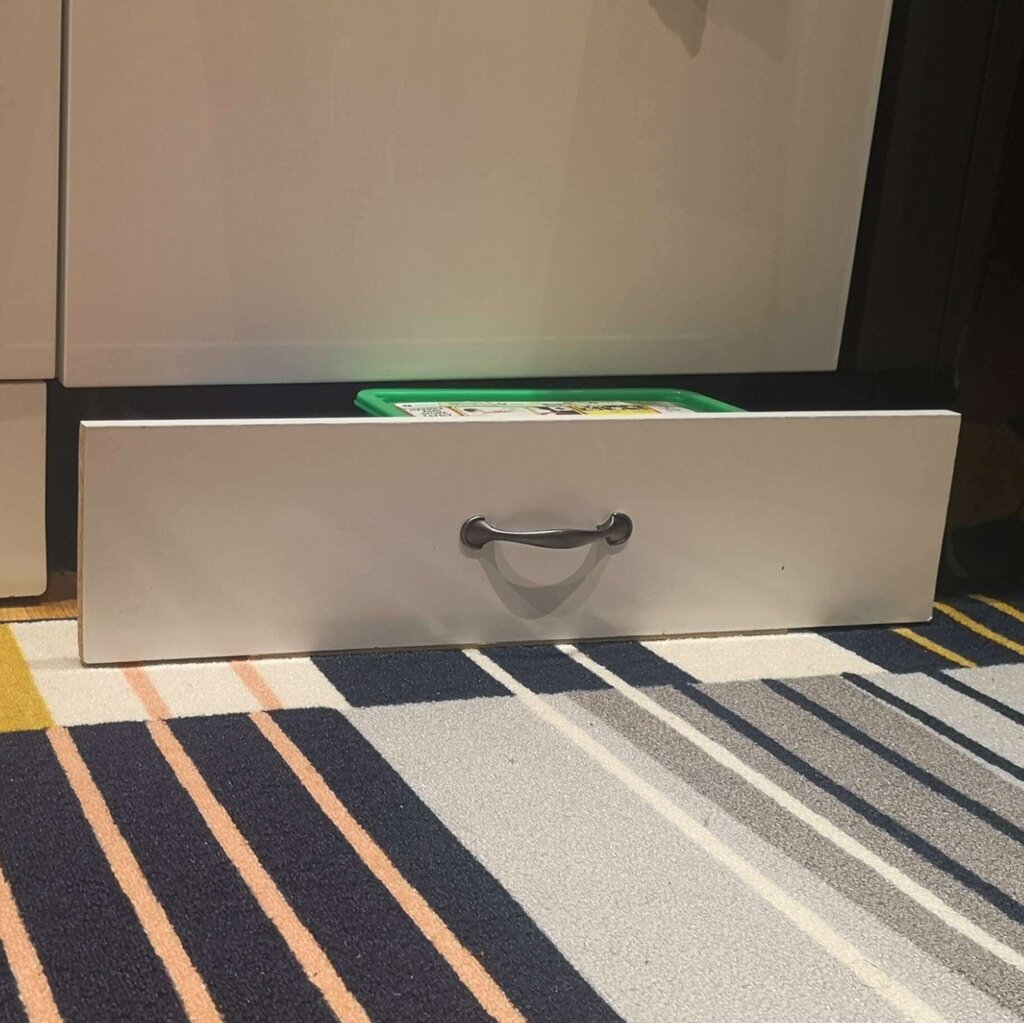
Turning kitchen plinths into drawers.
BACKGROUND AND TOOLS
The front of the drawer was made from the original kitchen plinth to match the rest of the aesthetic.
The sides and back were made from MDF, and the base was made from hardboard.
The wheels were fixed straight castors which can be attached to the side of the drawer. I did this to save on vertical space, but choose whatever it suitable for the space you have.
The project could be completed with entirely hand tools – I used a jigsaw to make things easier. A set square would help keep the side of the drawers at right angles to the front and back, which I secured with an L-bracket.
STEPS
(please refer to the video for visual aids)
First, I removed the plinth and measured the space below the kitchen cabinets (width, height and depth).
I then cut the kitchen plinth to form the front of the drawer, and attached a handle to the front.
I cut the sides and back of the drawer from the MDF and used angle brackets to join them together forming the frame.
Next, I attached the straight castors to the inside of the frame (to reduce the overall footprint of the drawers).
After marking out the frame on a piece of harboard, I cut it out and nailed it to the bottom of the drawer. Don’t do what I did – get the correct length nails. Too long and it’s more likely to split the wood.
That’s it – a fairly simple project but one of my most useful ones. The space it provides is actually pretty decent – I fit my belt sander and all of its accessories in my narrowest one. Now I have more space for more tools, which I can use to make more space to fit the new tools. And so, the cycle continues…


