How to make your first flipbook
DETAILS
I love flipbooks. They are such fun, rewarding projects, and you barely need any equipment at all to make one. They’re like Flipnote Hatena, but in real life! You can hold them, frame them, throw them at people, eat them the list goes on!
Making the light box
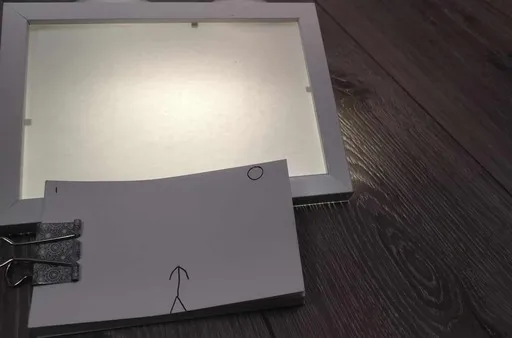
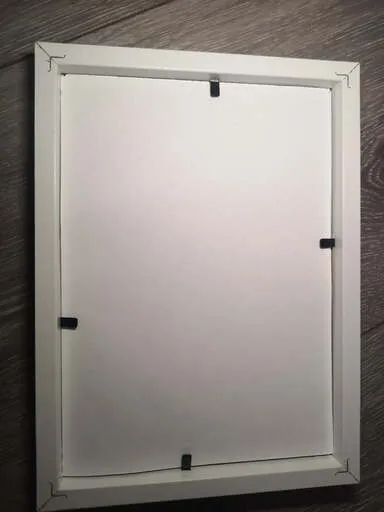
Possibly the most important thing you need to get started is a way to be able to see through sheets. You can buy a light box, which is made specifically for tracing, or you could make one yourself. I made a simple light box by taking the back off of a 5 x 7 inch (~13 x 18 cm) frame, and putting a sheet of paper behind the glass. The paper will diffuse the light so it is spread all over the box, and not just where the light source is.
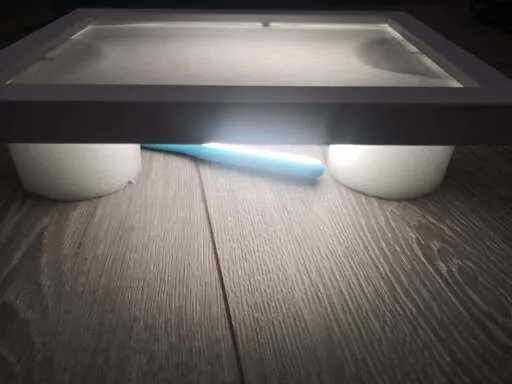
Next, find something to prop it up, and place a light underneath. You can use your phone’s flashlight for this. Light box complete! You should now be able to trace your beautiful artwork.

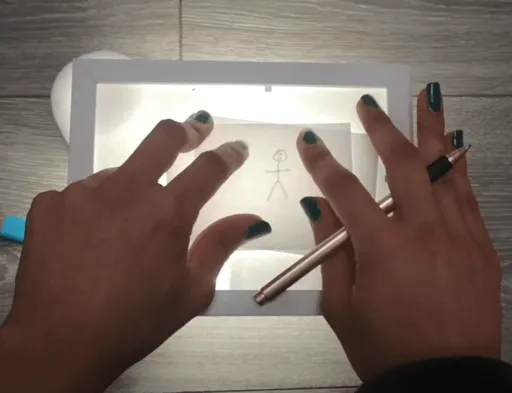
What a masterpiece.
Now lets get onto animating!
Making a flipbook
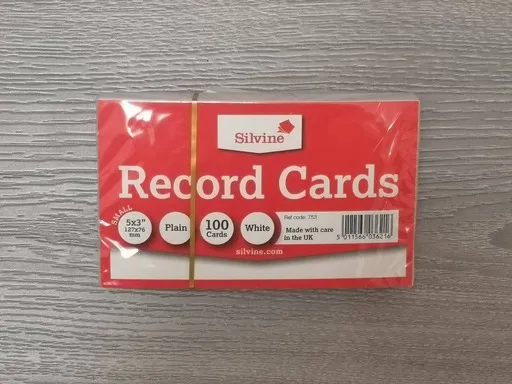
I like using record (or index) cards for my flipbooks. They are all cut to the same size, and are slightly thicker than regular paper which makes them easier to flip. Plus, they are readily available and not too expensive.
If you want to make a simple bouncing ball animation, you may find it easier to follow along with my video (at the bottom of this page). The pictures below show you how to make a 45 frame animation of a headless stickman walking towards a bouncing ball. Spoilers: the ball is his head.
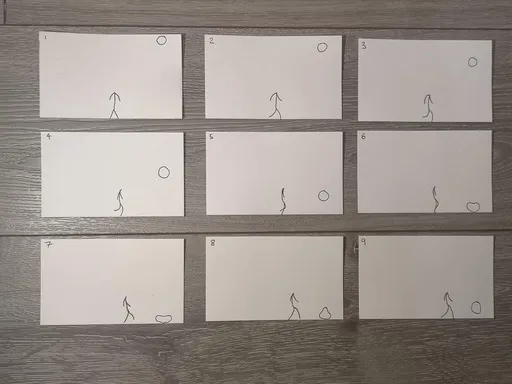
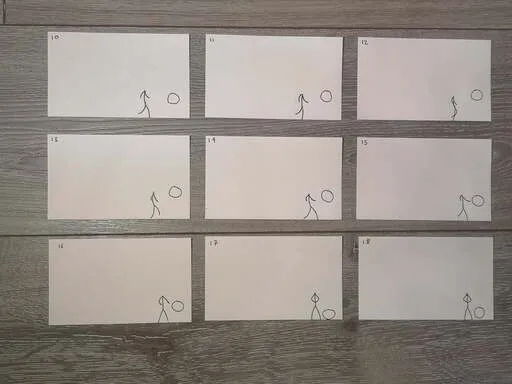
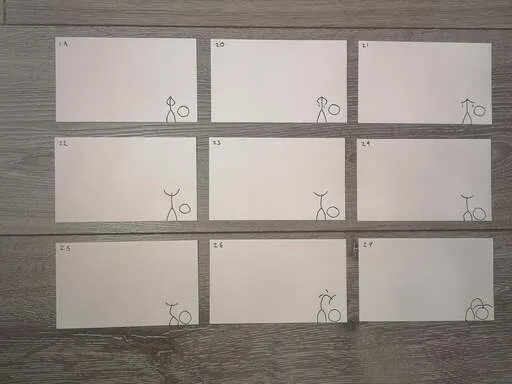
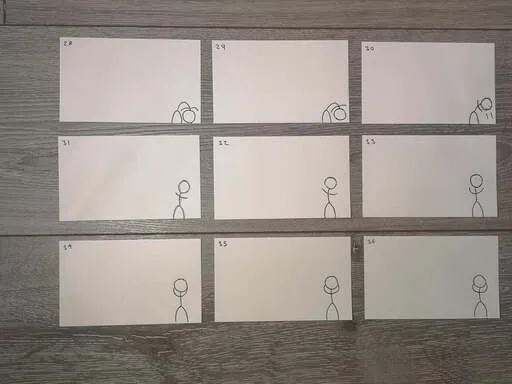
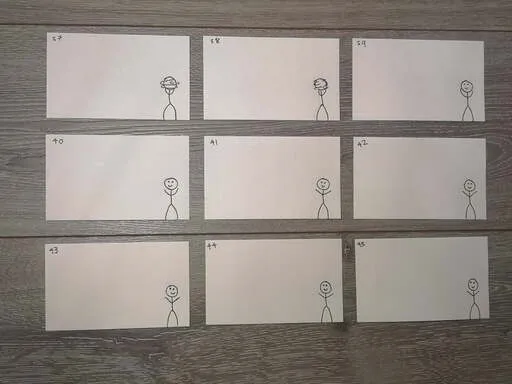
To get a better understanding of how to animate walk cycles, you can find references and follow them. Same goes for running, jumping, and many other activities. You have my walk cycle reference above, but there are many different styles and speeds which you can find online.
Happy flipbooking! … Flipping? … Flooping? … Flooping.
